Hello everyone! It's been a while since I've posted a beauty Blog
So I've been looking for a decent Oil-free foundation for quite some time now. I've been looking for high end AND drug store. I came across the Laura Mercier Oil-Free Foundation on their website. I was excited that I finally found an oil-free foundation, however, there were a lot of negative reviews. Apparently they have changed the packaging, and in result, they also changed the formulation as well. I have never tried the old formulation but it seemed that the old one was MUCH better than the new one.

Sooooo yeah lol I went a head and looked for another alternative and I came cross CoverGirl's Clean foundation at Walmart. It was pretty cheap (around $6-$7, HOLLA) So I decided to pick it up. If anything, I could just try it out and if I hated it I could always return in within 7 days (Walmart has a pretty kickass return policy~woot)

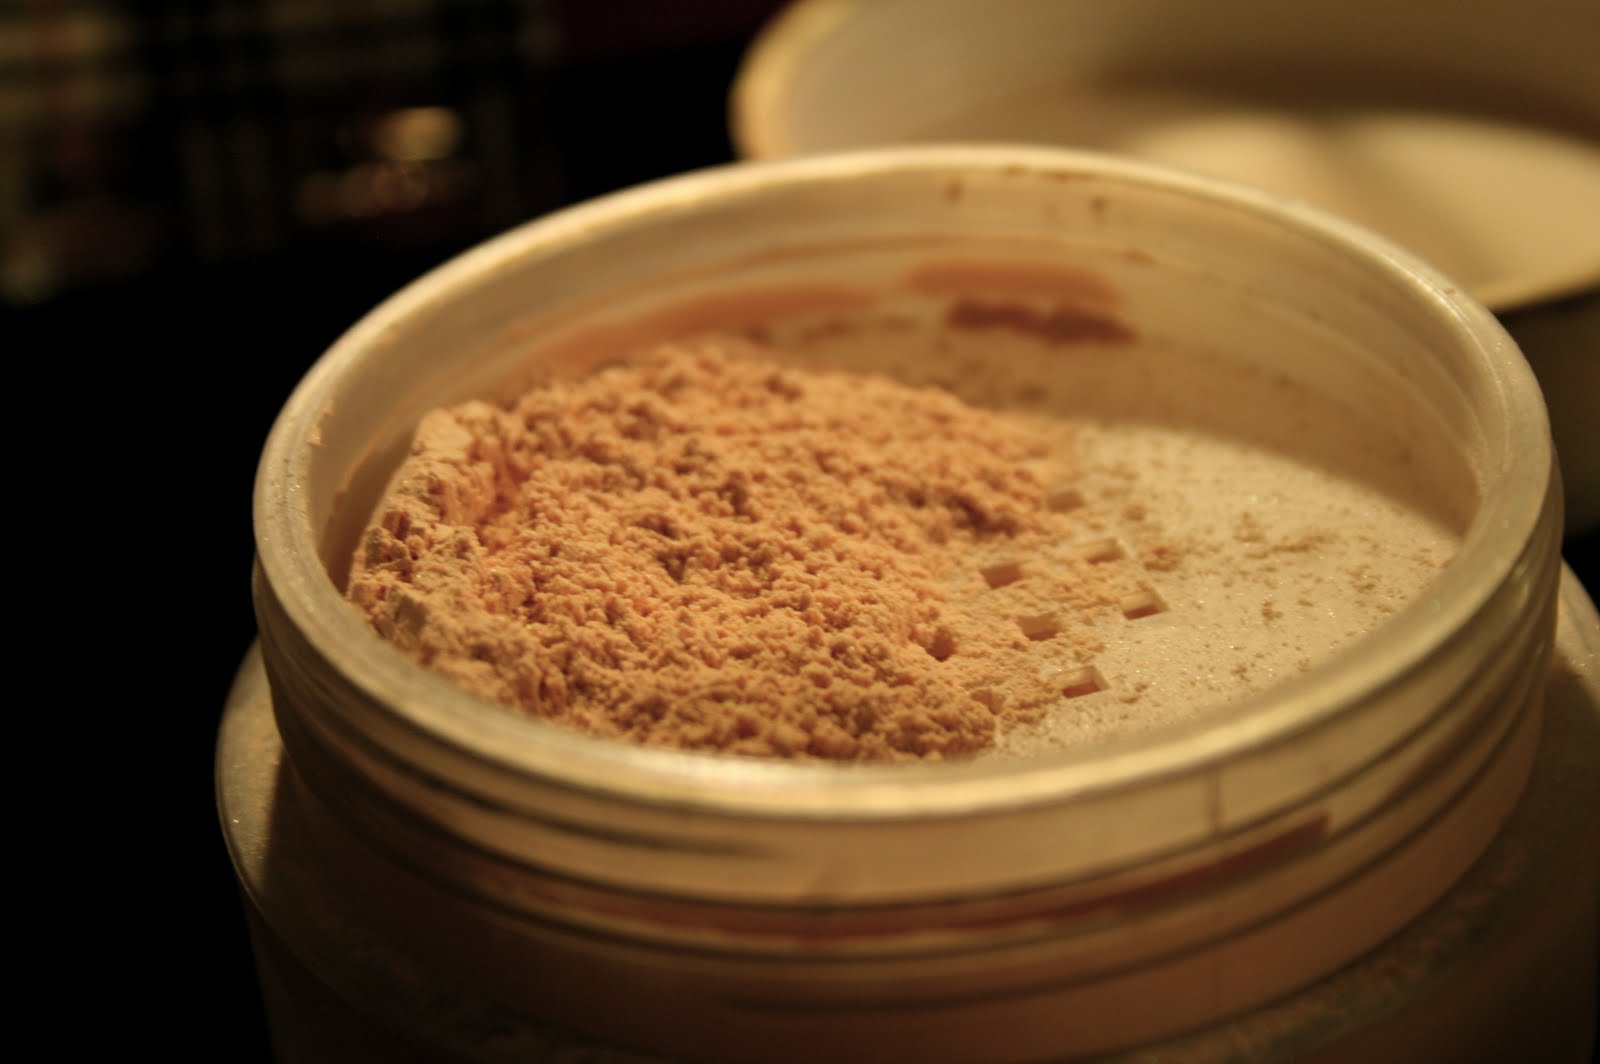
I picked up the shade 225 Buff Beige which seems to match my skin decently. I have to say CoverGirl foundations are more in the pink-ish side which isn't my favorite. I usually go for foundations with a little bit of yellow undertone but the CoverGirl one doesn't look too terribly pink on me.


As you guys can see in the photo, it does look a little pink. BUT it does look okay on my face (unless I hold up my hand against my face). This foundation does oxidize a LITTLE bit but its not cray cray to the point where you'd have orange face at the end of the day.
THE FINISH
The finish of this foundation is pretty interesting. It sets to a matte finish which I wasn't expecting. Usually when I see foundations with the words "clean" or "fresh" I automatically think that its going to have a dewy finish.
LASTING POWER
I have extremely oily skin which means not a lot of foundations last on my face. This particular foundation lasts about 3-4 hours on my skin before it starts to get really (and I mean really) shiny. I'm not too pissed about it since they don't market this foundation to be long lasting. Plus, I've been doing some research and found out that long lasting foundations (such as Estee Lauder Double Wear Foundation or Revlon Colorstay Foundation) do clog your pores and they are much harder to take off. I love both of those foundations (Double Wear and Colorstay) but I think I'm only going to use them on special occasions.
PACKAGING
Oh man, I HATE the packaging of this foundation. Actually, I'm not really fond of any CoverGirl's packagings. I find them very dull and boring and I think they could do a MUCH better job than just using plain glass bottles with boring colors. One thing that really bothers me about this foundation (and most drugstore foundations) is that it doesn't come with a pump. What the EFF!!! I don't understand how they have the money to spend on a glass bottle, but they don't have $ to put a plastic pump on the damn foundation. URGH (okay Hilda calm down). I have to use a Q-tip to get the foundation out of the bottle (as I've mentioned before the formulation of this foundation is thick as hell).
I give this foundation: 3.5 / 5
Overall, I like this foundation. I dont mind that its not long lasting and I can sort of work with the packaging and its good for everyday use. However, this is not something I would reach for if I'm going out at night.


So I've been looking for a decent Oil-free foundation for quite some time now. I've been looking for high end AND drug store. I came across the Laura Mercier Oil-Free Foundation on their website. I was excited that I finally found an oil-free foundation, however, there were a lot of negative reviews. Apparently they have changed the packaging, and in result, they also changed the formulation as well. I have never tried the old formulation but it seemed that the old one was MUCH better than the new one.

Sooooo yeah lol I went a head and looked for another alternative and I came cross CoverGirl's Clean foundation at Walmart. It was pretty cheap (around $6-$7, HOLLA) So I decided to pick it up. If anything, I could just try it out and if I hated it I could always return in within 7 days (Walmart has a pretty kickass return policy~woot)

I picked up the shade 225 Buff Beige which seems to match my skin decently. I have to say CoverGirl foundations are more in the pink-ish side which isn't my favorite. I usually go for foundations with a little bit of yellow undertone but the CoverGirl one doesn't look too terribly pink on me.


As you guys can see in the photo, it does look a little pink. BUT it does look okay on my face (unless I hold up my hand against my face). This foundation does oxidize a LITTLE bit but its not cray cray to the point where you'd have orange face at the end of the day.
THE FINISH
The finish of this foundation is pretty interesting. It sets to a matte finish which I wasn't expecting. Usually when I see foundations with the words "clean" or "fresh" I automatically think that its going to have a dewy finish.
THE COVERAGE
I would say its sheer to medium coverage. However, since this foundation sets into a matte finish, it is easily build-able which is good for those who want more coverage. Surprisingly, this foundation is SUPER thick which made me think that it is going to be a super high coverage, but it's quite sheer (side note: this foundation is SO thick that its extremely hard to get it out of the bottle!)LASTING POWER
I have extremely oily skin which means not a lot of foundations last on my face. This particular foundation lasts about 3-4 hours on my skin before it starts to get really (and I mean really) shiny. I'm not too pissed about it since they don't market this foundation to be long lasting. Plus, I've been doing some research and found out that long lasting foundations (such as Estee Lauder Double Wear Foundation or Revlon Colorstay Foundation) do clog your pores and they are much harder to take off. I love both of those foundations (Double Wear and Colorstay) but I think I'm only going to use them on special occasions.
PACKAGING
Oh man, I HATE the packaging of this foundation. Actually, I'm not really fond of any CoverGirl's packagings. I find them very dull and boring and I think they could do a MUCH better job than just using plain glass bottles with boring colors. One thing that really bothers me about this foundation (and most drugstore foundations) is that it doesn't come with a pump. What the EFF!!! I don't understand how they have the money to spend on a glass bottle, but they don't have $ to put a plastic pump on the damn foundation. URGH (okay Hilda calm down). I have to use a Q-tip to get the foundation out of the bottle (as I've mentioned before the formulation of this foundation is thick as hell).
I give this foundation: 3.5 / 5
Overall, I like this foundation. I dont mind that its not long lasting and I can sort of work with the packaging and its good for everyday use. However, this is not something I would reach for if I'm going out at night.

With Flash

Without Flash